Pages

Wednesday, December 7, 2016

New Skillshare Class

I have a new class about bookmaking on Skillshare.com. Use the discount code below to enroll and you will also receive full access to the site and all the classes for only $.99 for 3 months. My class includes 12 short videos that walk you through the steps to make and decorate a small book. You can include your own message and artwork. Great for a small gift or special greeting.

I've been thinking for awhile about offering an online video class about bookmaking. Skillshare.com has a program for new teachers so I enrolled and designed my own class. Of course along the way, I had to learn new things about my iPhone, about editing on Quicktime, about creating slideshows with voiceover, and now about marketing. A steep learning curve for a month's time. But I had fun.

I now have my first video class up on Skillshare.com, and hopefully more classes to come.  Skillshare is a site with hundreds of video classes including ones about computer skills, cooking, arts and crafts, DIY, photography and running a small business.

Here is the discount code:  http://skl.sh/2gWL06Z

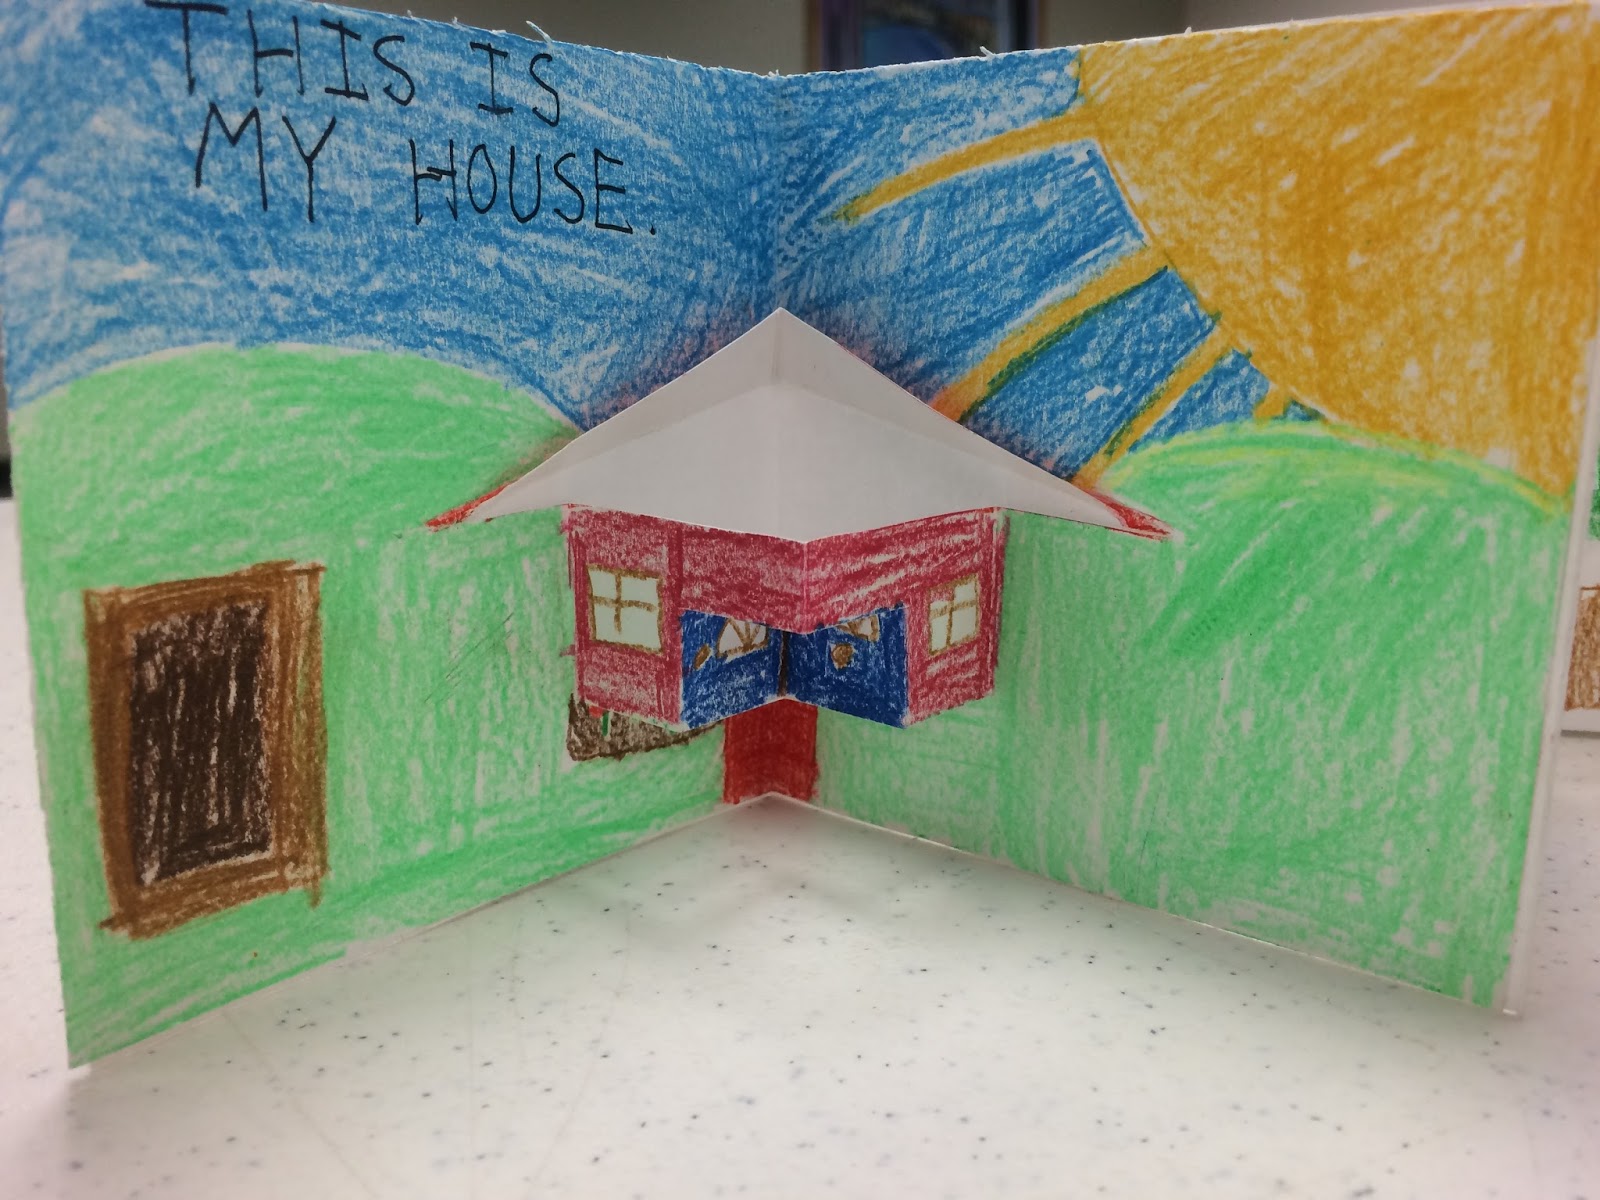
Here are a few samples of some books that I made.

 My new class

  Valentines greeting

 Birthday wishes


There's also a Bonus lesson about how to make a little pouch to match your book.

 Book pouch


Friday, June 10, 2016

Pop-up Workshop

I recently gave a pop-up book workshop at the Arlington MA library. There were only 4 children (ages 8-10ish) but we had a great time together leaning how to make "on-the-fold" pop-ups, and then combining them to make a small 4x4" book. Here are a few photos of their pages:


And here is how we created the books. Look under the DIY tab to find instruction sheet that you can download.

Using 4x8" drawing paper (grain short) we folded each paper in half and added a pop-up cut along the fold and illustrated the pages. Each child made 4 pages. We then folded two sheets of 4x16" copy paper into 4-fold accordions. Each pop-up page was glued into a valley of the accordion with glue-stick (being careful not to get glue on the pop-up in the center). The 2 accordion were glued together. 
I had prepared covers with a 1/4" double-fold spine, and strips of double-stick tape alongside the spine and each edge. These were decorated with a title and images. The cover was wrapped around the double-accordion pages and edges squared. Center tapes were removed first, then tapes at the edges. Hope these photos will help. It's hard to describe with words.

Here below, you can see two pages tucked into a four-fold accordion.


And here is the other 4-fold accordion. Glue was applied
along the edges of each page, but not in the middle.

Here is the cover, prepared with spine folds and double-stick tape. 
Four folds are scored into the center to create a spine, similar to the spine of a board book.